API keys authenticate every request your code makes to Baat. Each key belongs to your organization, carries a set of scopes that limit what it can do, and can be rotated or revoked at any time. Manage them under Developers → API keys.
Creating a key #
Click Create key and fill in:
- Name — name it after the system or person that will use it (e.g. Order webhook bridge). Visible to admins only; used in logs and the audit trail.
- Description (optional) — a note about where the key is used.
- Scopes — tick only the permissions this key needs (see the table below).
- Advanced (optional) — an expiry date and an IP allowlist (comma-separated CIDRs or IPs).
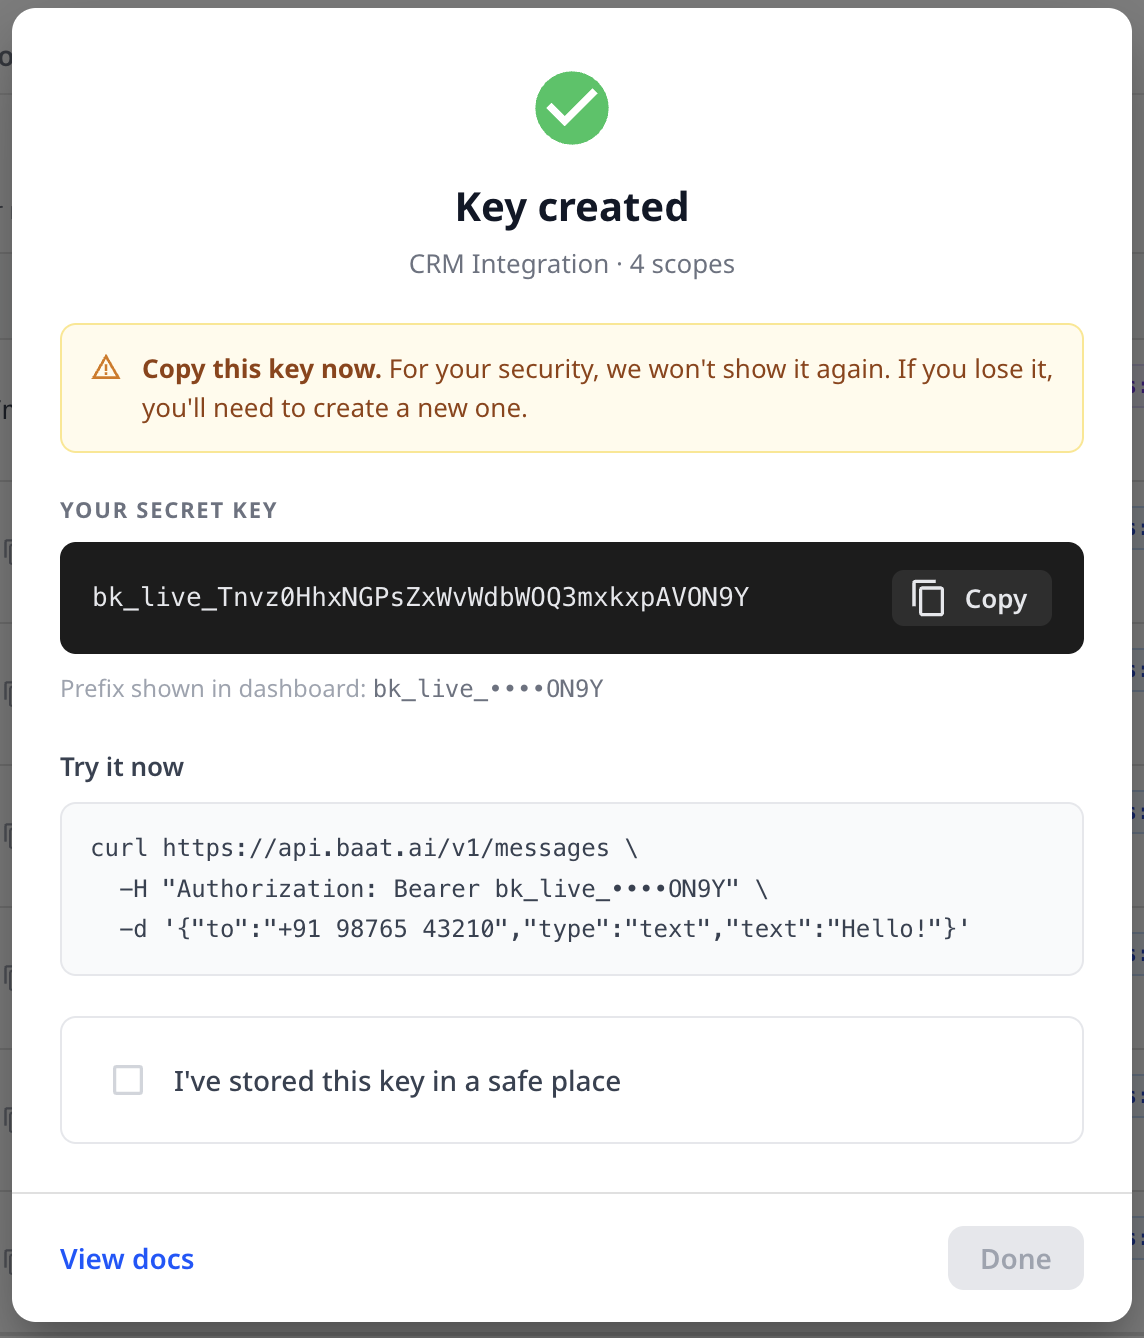
bk_live_… value a single time. Copy it into your secret manager immediately — if you lose it you must rotate or create a new key. Afterwards the dashboard shows only a masked prefix like bk_live_****a1b2.
Scopes #
Scopes follow a resource:action pattern. Grant the minimum a key needs — you can always create additional keys for other jobs.
| Scope | Grants |
|---|---|
messages:send |
Send WhatsApp template messages. |
messages:read |
Read conversations and messages. |
contacts:read |
Read contacts. |
contacts:write |
Create and update contacts, tags and segments. |
channels:read |
List connected WhatsApp channels. |
templates:read |
List templates and their approval status. |
broadcasts:manage |
Create, schedule and pause broadcasts. |
webhooks:manage |
Create, update and delete webhook endpoints. |
If a call requires a scope the key does not have, Baat responds with 403 Forbidden and "status": "insufficient_scope".
403, create a new key with the scope you need.
Reading the keys table #
| Column | Meaning |
|---|---|
| Key | Masked prefix of the secret. Click the copy icon to copy the masked value (the full secret is never recoverable). |
| Scopes | The permissions granted to the key. |
| Created by | The team member who created the key and the creation date. |
| Last used | When the key last made a successful request (e.g. 3 min ago, or Never). Recent use within the hour is highlighted green. |
| Status | Active (green) or Inactive (grey). |
Rotating, revoking and deleting #
Open the ⋮ menu on any key row:
- Revoke key — sets the key to Inactive. Calls with it are rejected immediately, but the row stays so you keep the audit trail. Choose Re-activate key to restore it.
- Delete — permanently removes the key. This cannot be undone.
Rotating issues a fresh secret for the same key and resets its last-used timestamp — useful when a secret may have leaked but you don’t want to reconfigure which scopes the integration has. Update your application with the new secret right away, as the old one stops working.
Expiry and IP allowlist #
- Expiry date — after this date the key stops authenticating automatically. Good for temporary integrations and contractors.
- IP allowlist — restrict the key to specific source IPs or CIDR ranges (e.g.
192.168.1.0/24, 10.0.0.1). Leave blank to allow all.


